How to Use Claude Code in VS Code: The Complete Setup I Use Every Day
 By Neo Zino - builder of ClockedCode15 min read
Learn how to use Claude Code in VS Code with this step-by-step 2026 guide: extension install, terminal setup, CLAUDE.md config, and fixes for common problems.
On this page
There are two ways to use Claude Code in VS Code: the official extension, which gives you a graphical panel inside the editor, and the CLI running in the integrated terminal. I use it every single day to build my products, and the full setup takes about ten minutes. This guide walks through every step, then the setup problems people actually hit - I hit most of them myself.
TL;DR: Install the free Claude Code extension from the VS Code Marketplace (publisher: Anthropic), sign in with a Claude Pro/Max plan or Console credits, then add the CLI so
claudealso runs in the integrated terminal. Run/initto generate aCLAUDE.md,/terminal-setupto fix Shift+Enter, and/statuslineto see your context at a glance. That is the whole setup I ship real products with.
Extension vs terminal: what "Claude Code in VS Code" means
This trips up almost everyone, so first things first. "Claude Code VS Code" can mean two different things, and both are official:
- The Claude Code VS Code extension. A native extension by Anthropic (listed as "Claude Code for VS Code" on the Marketplace) that adds a chat panel to your editor - a spark icon in the top bar, inline diff reviews, quick fixes from the editor's lightbulb menu, plan documents that open as tabs, file mentions with autocomplete, and drag-and-drop images in chat. If you searched for the extension, this is it.
- The Claude Code CLI in the integrated terminal. The same agent, running as a command-line program inside VS Code's built-in terminal. You get the full command set and every flag, and when the extension is installed, the CLI connects to the editor so diffs open in VS Code's native diff viewer.
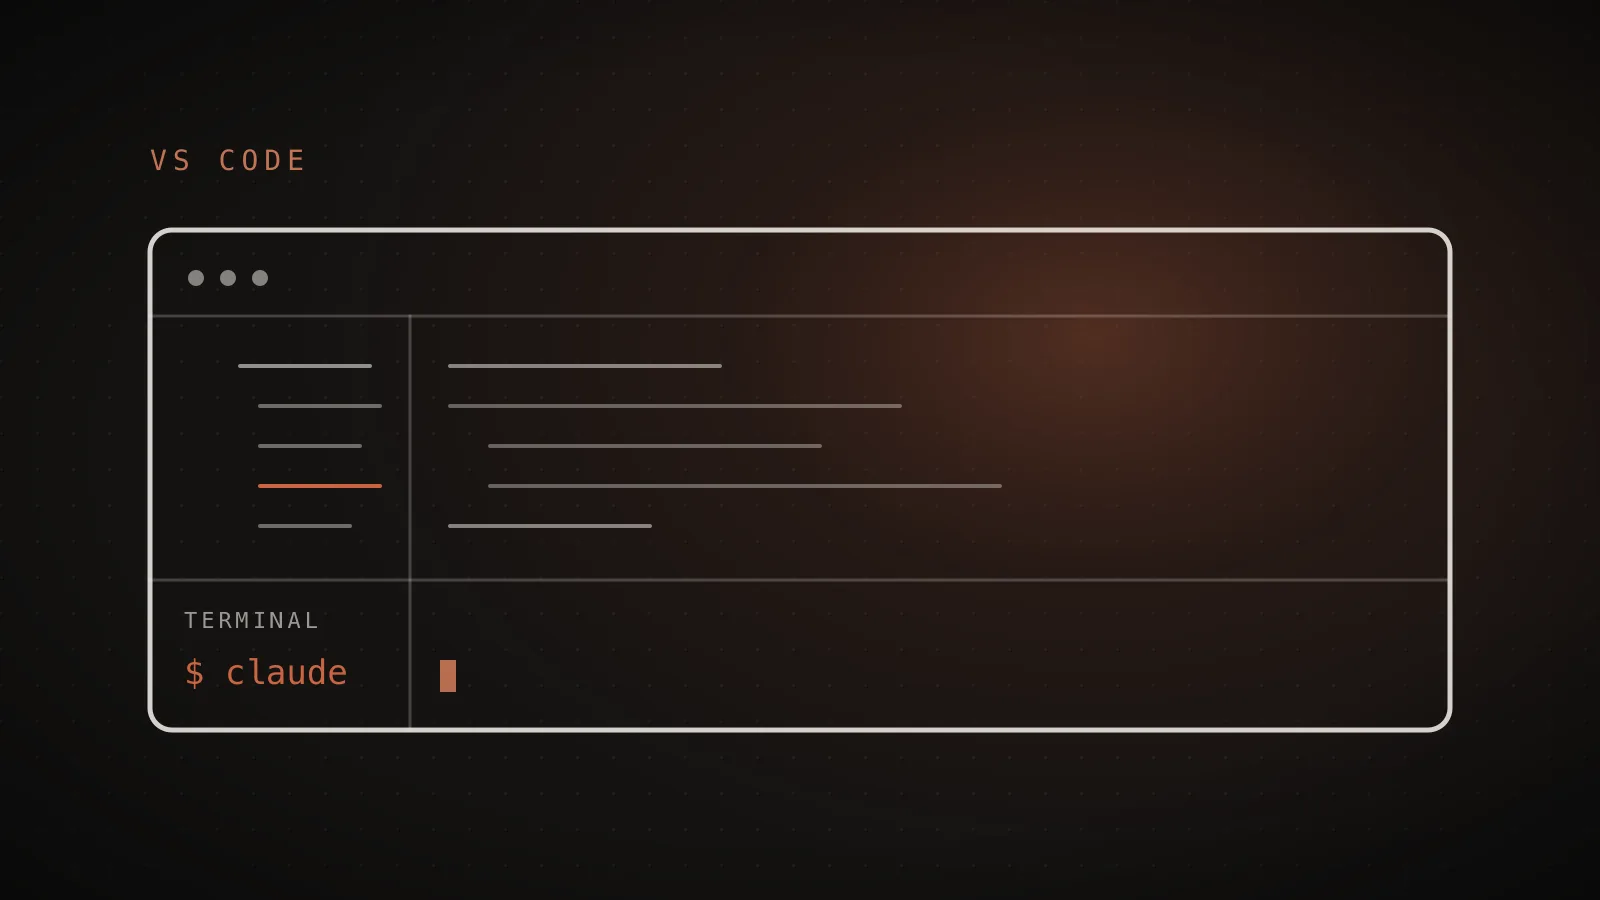
They are not competitors. The extension bundles its own copy of the CLI for the chat panel, and both read the same account, the same settings files, and the same CLAUDE.md. My honest recommendation after months of daily use: set up both. I live in the extension day to day, and keep the CLI installed for the handful of commands that only exist there. (The photo at the top of this guide is exactly that: the extension panel and the CLI side by side in one window.)
Prerequisites
Three things, and only the second one costs money:
- VS Code 1.98.0 or later. Check with Help, then About. Anything from 2025 onward is fine.
- A Claude account on a paid plan. Claude Pro or Max (the subscription most individual devs use), Team or Enterprise, or a Claude Console account with pre-paid API credits. The free Claude.ai plan does not include Claude Code access - there is no free tier for this tool.
- Node.js 22+, but only for the npm install route. The extension bundles everything it needs, and the native CLI installers ship a standalone binary. You only need Node if you specifically want to install the CLI with npm.
That's it. No API key juggling - signing in through your browser handles authentication for both the extension and the CLI.
Installing the Claude Code VS Code extension
The extension is the fastest way in, so start here:
- Open the Extensions view:
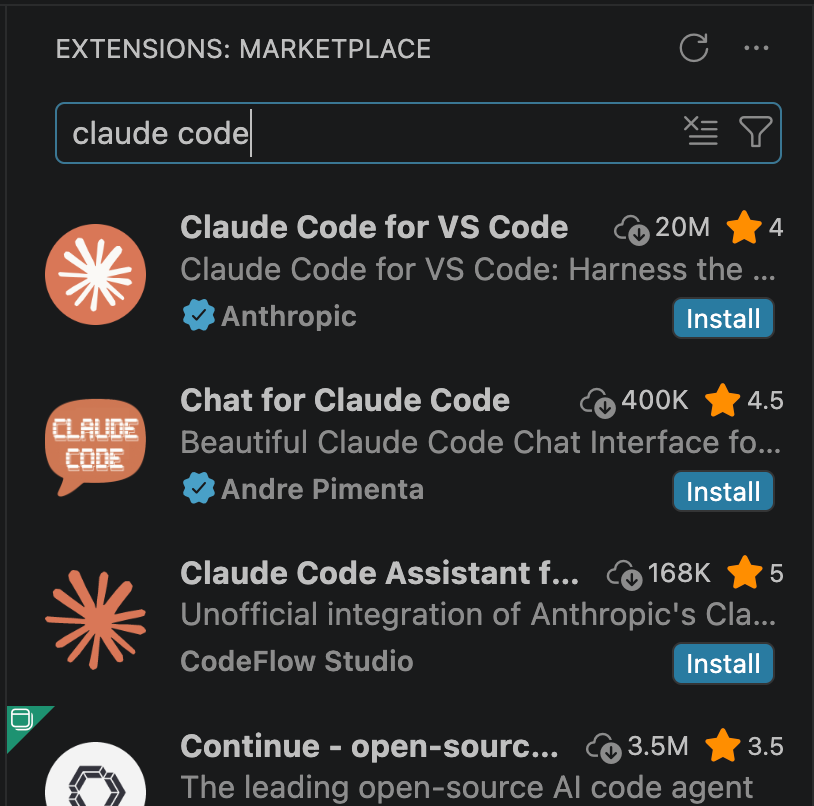
Cmd+Shift+Xon Mac,Ctrl+Shift+Xon Windows/Linux. - Search for Claude Code and pick the official Claude Code for VS Code extension published by Anthropic (verified badge, nearly 20 million installs). The results are full of similar-looking third-party extensions - "Chat for Claude Code", "Claude Code Assistant", and friends. Those are not Anthropic's; check the publisher before you click.
- Click Install.
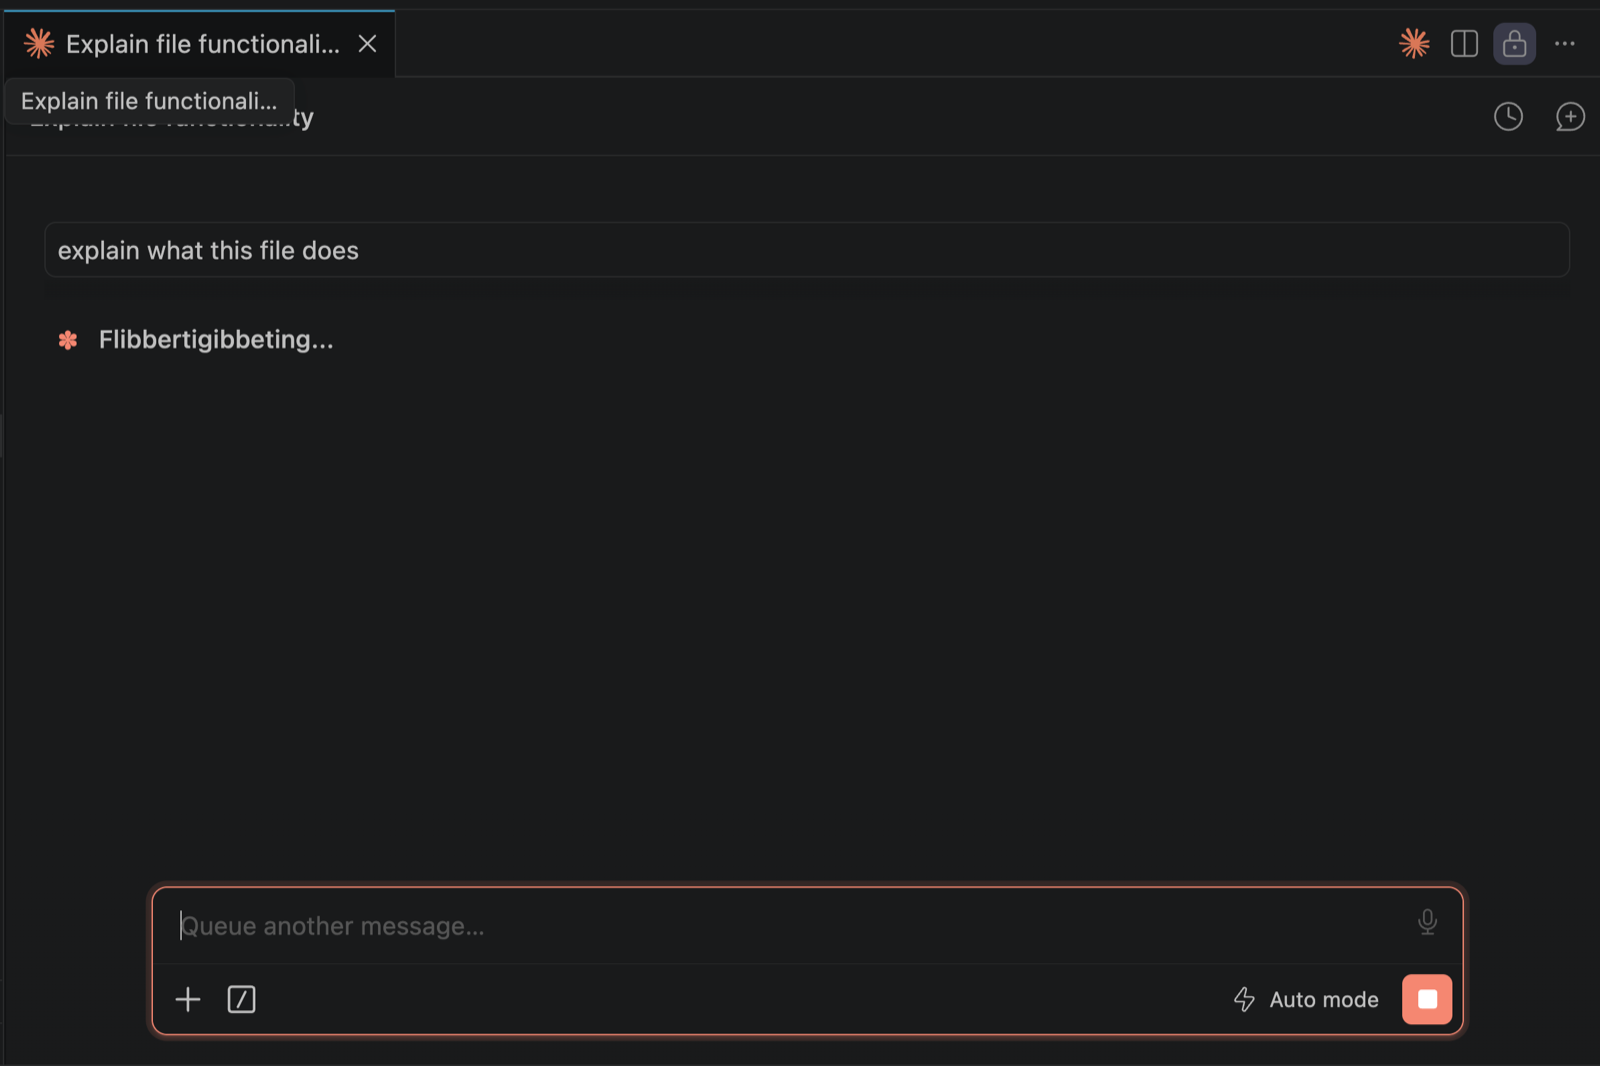
- Open any file in your project (the panel needs a file open, not just a folder), then click the spark icon in the top bar - or press
Cmd+Esc(Ctrl+Escon Windows/Linux). - Sign in when prompted. It opens your browser for a one-time OAuth login with your Claude account, then remembers you.
- Type a first prompt like "explain what this file does" to confirm everything is wired up.
Using Cursor or another VS Code fork? The extension installs there too - search the fork's Extensions view, or grab it from the Open VSX registry. And if a fork ever misbehaves, the CLI in the integrated terminal works everywhere.
Setting up Claude Code in the VS Code terminal
Here is the part most guides skip: the extension does not put the claude command on your PATH. If you want to run Claude Code in the integrated terminal - and you eventually will, because that is where the full command set lives - you need the standalone CLI too.
- Install the CLI with the native installer for your OS (no Node.js required):
# macOS / Linux / WSL
curl -fsSL https://claude.ai/install.sh | bash
# Windows (PowerShell)
irm https://claude.ai/install.ps1 | iex
Prefer a package manager? brew install --cask claude-code on macOS, winget install Anthropic.ClaudeCode on Windows, or npm install -g @anthropic-ai/claude-code if you have Node 22+.
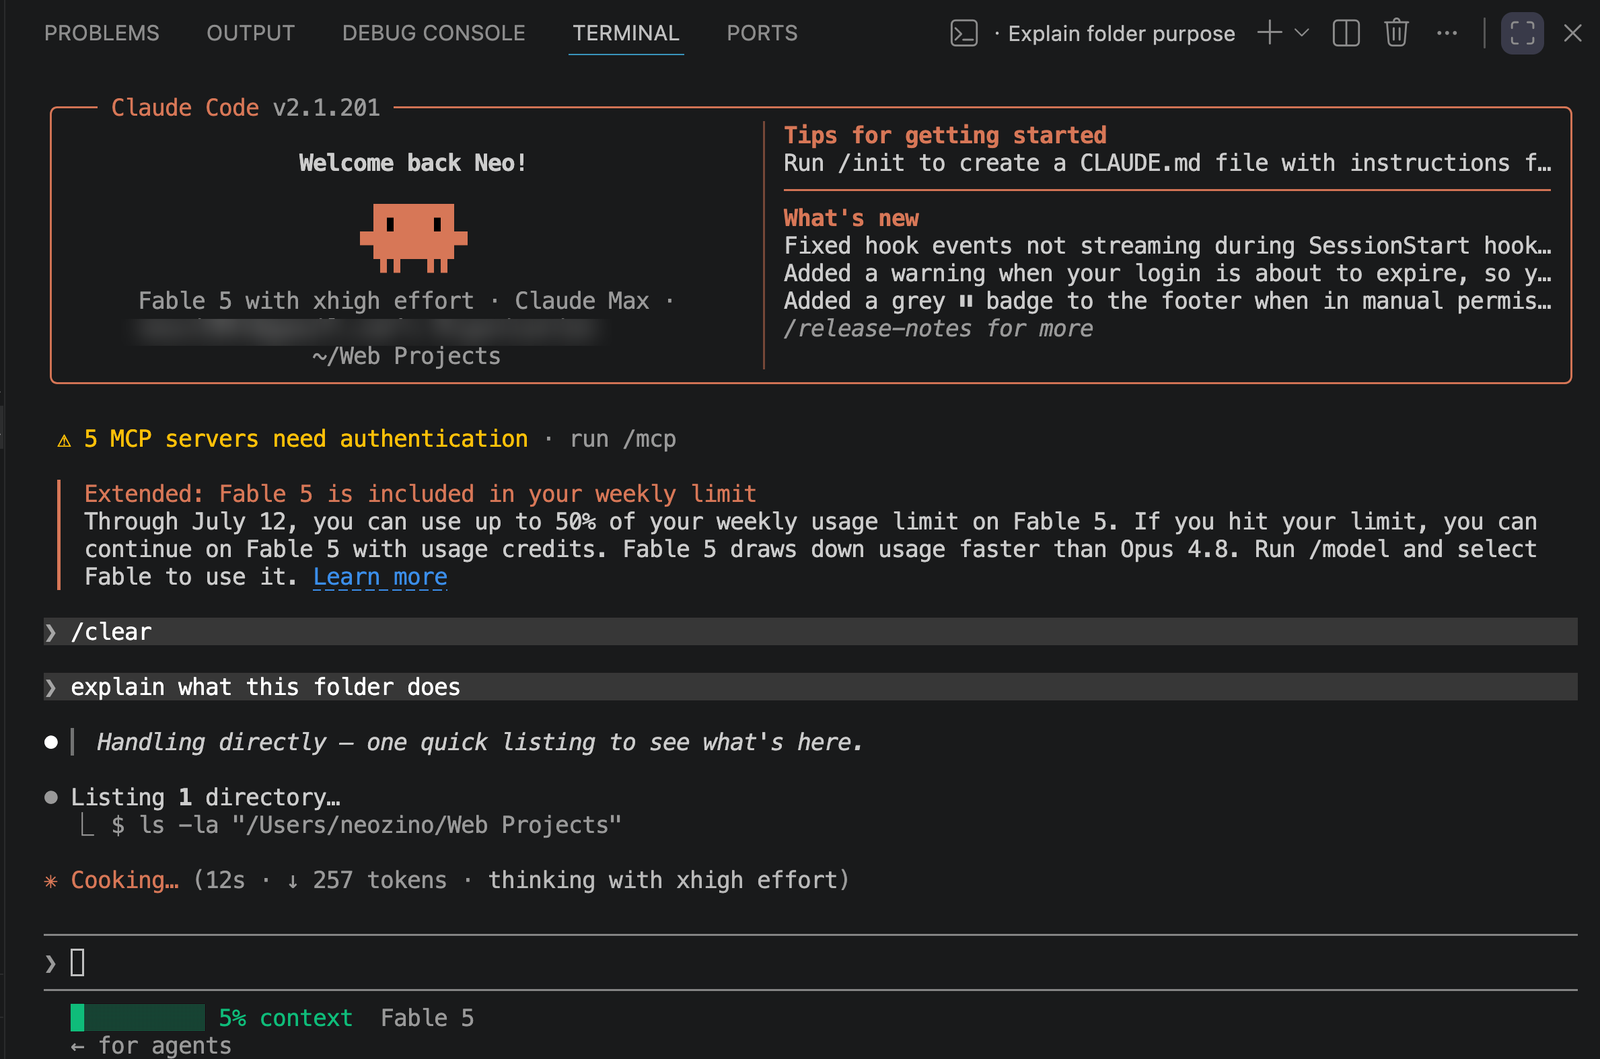
- Open the integrated terminal (
Ctrl+`) and run:
claude
-
If it asks you to sign in, run
/login- same browser flow as the extension, and if you already signed in through the extension you are usually done. -
Because you launched it inside VS Code with the extension installed, the CLI connects to the editor automatically: diffs open in VS Code's native viewer, and your current selection is visible to Claude as context. Launched from an external terminal instead? Run
/ideinside the session to connect manually. (Git Bash users: see the first item in troubleshooting.) -
Run
/terminal-setuponce. It configures keybindings soShift+Enterinserts a newline instead of sending the message - the single most annoying default in terminal land, fixed in two seconds.
Essential configuration
Do this before your first real task. A stock install works; a configured install is a different tool entirely, and it costs ten minutes.
Generate a CLAUDE.md with /init. If you are new to Claude Code, this is the one concept worth actually learning. CLAUDE.md is a plain markdown file at the root of your project where you write, in normal English, everything you would tell a new developer on their first day: how to run the app, how the project is structured, which conventions to follow, what never to touch. Claude Code reads it automatically at the start of every session - so instead of re-explaining your project in every conversation, you explain it once and Claude just knows. Run /init and it generates a starter version by reading your codebase; then trim it, because short and specific beats long and vague, and this file rides along in every conversation. I wrote a full breakdown of what belongs in a CLAUDE.md, with my real file as the example. If you would rather start from something built than a blank file, I keep a free library of Claude Code templates - subagents, hooks, and CLAUDE.md starters you can paste straight in.
Know your three settings files. User-wide settings live in ~/.claude/settings.json, per-project settings in .claude/settings.json (committed to git), and personal per-project overrides in .claude/settings.local.json (gitignored). Add "$schema": "https://json.schemastore.org/claude-code-settings.json" at the top and VS Code gives you autocomplete for every option. For everything else there is /config, which opens a settings interface right in the session.
Set up the status line with /statusline. One command, and Claude Code permanently shows your model, git branch, and how much of the context window you have used. Context awareness is the difference between a sharp session and a degraded one, so make it visible.

Add MCP servers - but only the ones you will use daily. MCP servers connect Claude Code to tools like GitHub, Supabase, and Sentry. They are genuinely great and also the easiest way to silently burn your context window, since every connected server costs tokens on every turn. I keep a curated list of the six MCP servers actually worth installing - resist the directory-of-fifty approach.
One personal tip before you move on. The single best line in my global CLAUDE.md is a rule that Claude must end every response with a one-line TL;DR summary. Long outputs stopped being homework: I read the one line, decide whether the details matter, and move on. Steal it - add "End every response with a TL;DR line, one or two sentences max, summarizing what was done and what I need to decide next" to your CLAUDE.md and feel the difference the same day.
Daily workflow: how I actually use it
The install is the easy part. Here is what makes Claude Code in VS Code productive day to day:
- Plan before code, always. For anything bigger than a one-line fix, I have Claude propose a plan first and only then let it touch files. It is the single highest-leverage habit with this tool - I wrote up exactly how I ask Claude Code to plan before it codes.
- Run parallel sessions instead of waiting. This is the biggest unlock in my day. Claude thinking is not a coffee break: I keep a few Claude Code sessions open side by side in VS Code (
Cmd+Shift+Escopens a new one in its own tab) and rename each one to its job - one builds the feature, one chases a bug, one answers questions about the codebase. While one session works, I jump to another. I stopped waiting for Claude months ago; you should too. - Give parallel sessions their own git worktree. Two sessions editing the same files will happily overwrite each other's work. Git worktrees fix that:
git worktree add ../myapp-feature -b feature-xgives a session its own folder on its own branch, backed by the same repo. Open that folder in a second VS Code window, point a Claude Code session at it, and the parallel work can never collide - merge the branches when they are done. - Pick your permission mode - I run Auto. Out of the box, Claude Code asks before it touches a file or runs a command (manual mode). Flip the toggle in the panel to Auto mode and it works straight through without stopping to ask every time. I run Auto all day because I trust Claude at this point - but that trust stays cheap only because of the next habit.
- Review every diff like a pull request. Changes open in VS Code's diff viewer. Read them. The tool is excellent; it is not infallible, and the diff view exists precisely so you stay the reviewer. Keeping the work on a feature branch makes that oversight cheap.
- Keep an eye on your usage.
/usageshows where your quota goes (including a breakdown by MCP servers and subagents), and/contextshows what is eating the window. If you are hitting limits faster than you should, scan your setup with UsageCut - my free tool that flags what is silently burning tokens - and read why Claude Code eats usage limits so fast.
And my real split, for what it is worth: I am in the extension 99% of the time. The terminal gets the remaining 1%, purely for the commands that only exist in the CLI. If you were expecting a sophisticated two-tool workflow, sorry - the panel is simply where the work happens, and the CLI sits there for the rare command the panel does not surface.
Troubleshooting
Every one of these is a real, documented failure mode, in order of how often they bite:
- "No available IDEs detected" when connecting from the integrated terminal. The most common integration failure, especially on Windows with Git Bash: non-default shells hide the environment variables the CLI uses to detect the running VS Code session. The community workaround is to clear them when launching -
TERM_PROGRAM= claude, or the fullerVSCODE_PID= VSCODE_CWD= TERM_PROGRAM= command claude(alias it if you hit this daily). See the GitHub issue where this workaround comes from. - The spark icon is missing. You need a file open, not just a folder - the icon does not render in an empty workspace view. Still missing? Check VS Code is 1.98.0+, reload the window (
Cmd+Shift+P, then "Developer: Reload Window"), and look for the Claude Code item in the status bar (bottom right) as an alternative entry point. Cmd+Escdoes nothing on macOS. On newer macOS versions (Tahoe and later), the system Game Overlay intercepts that exact shortcut. Fix: System Settings, Keyboard, Keyboard Shortcuts, Game Controllers - uncheck the Game Overlay binding. Or rebind Claude Code's shortcut in VS Code's Keyboard Shortcuts.claude: command not foundafter installing the CLI. The native installer puts the binary in~/.local/bin, which may not be on your PATH. Addexport PATH="$HOME/.local/bin:$PATH"to your~/.zshrcor~/.bashrcand restart the terminal.- The extension refuses to work in a new folder. Check workspace trust: Claude Code does not run in VS Code's Restricted Mode. Click the shield icon in the status bar and trust the workspace.
- Windows: native, WSL, and Git Bash all behave differently. Native PowerShell and CMD work, and WSL works - but if your projects live in WSL, install and run the CLI inside WSL (use the Linux install command), and with VS Code Remote - WSL, install the extension into the WSL environment, not just the Windows side. Git Bash is the quirky one: it usually needs the environment-variable workaround from the first item above.
- Login loops or auth errors. Run
/logout, then/loginagain. On WSL or SSH, the browser may hand you a code instead of redirecting automatically - paste it back into the terminal. - Shift+Enter sends the message instead of adding a line. That is the un-fixed terminal keybinding - run
/terminal-setuponce and it is gone.
FAQ
Does Claude Code work in VS Code?
Yes. There are two official ways: the free Claude Code extension by Anthropic (a graphical panel inside VS Code) and the Claude Code CLI running in the integrated terminal. Both are fully supported, share the same account and settings, and work in VS Code 1.98.0 or later.
Is the Claude Code VS Code extension free?
The extension itself is a free download from the VS Code Marketplace, but using it requires a paid Claude plan: Pro, Max, Team, Enterprise, or a Claude Console account with API credits. The free Claude.ai plan does not include Claude Code access.
Claude Code extension vs terminal: which is better?
Start with the extension: it is easier to learn and shows diffs, plans, and file mentions in a graphical panel. Keep the CLI installed too, for the full command set and the flags the panel does not surface. I use the extension about 99% of the time, and both share the same configuration.
Do I need Node.js to use Claude Code in VS Code?
Not anymore. The extension bundles everything it needs, and the native CLI installers for macOS, Linux, and Windows download a standalone binary. Node.js 22 or later is only required if you install the CLI through npm.
Does Claude Code work in Cursor and other VS Code forks?
Yes. The extension installs in Cursor and other VS Code forks - search the fork's Extensions view or install it from the Open VSX registry. The CLI works in any editor's integrated terminal regardless of fork.
Does Claude Code do inline autocomplete like GitHub Copilot?
No. Claude Code is an agent, not an autocomplete engine: instead of completing code token by token as you type, it takes a task, works across files, and proposes diffs you review in the editor. The two tools solve different problems, and plenty of developers run both.
How do I open Claude Code in VS Code?
Press Cmd+Esc on Mac or Ctrl+Esc on Windows and Linux to toggle focus between the editor and Claude Code, or click the spark icon with a file open. Cmd+Shift+Esc (Ctrl+Shift+Esc on Windows and Linux) opens a new conversation in its own tab.
You're set up - now make it yours
That is the complete setup: extension installed, CLI in the terminal, CLAUDE.md generated, keybindings fixed, status line on, and a workflow that treats Claude Code as a reviewed collaborator instead of a magic button. The gap between developers who get real leverage from Claude Code in VS Code and those who bounce off it is almost never the model - it is this configuration and the habits on top of it. Take the ten minutes.